


When it comes to making the perfect glass of Cold Brew Coffee (with our Cold Brew Coffee Maker), there are a few key tips to keep in mind. First up in our Cold Brew 101 series, the grind.
Let’s step back for a second. Why do we even cold brew our coffee? With cold brewing, only the naturally delicious coffee flavors are extracted, leaving behind the bitter oils and fatty acids, creating a perfectly balanced, smooth extraction of concentrated coffee. To ensure that your coffee will brew at the perfect rate, the size of your coffee grind is key.
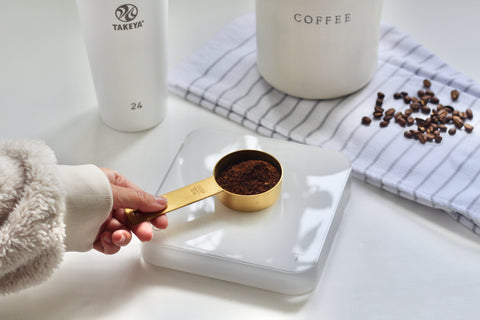
Keep in mind that the smaller the grind the faster the beans will extract in the water -leading to a bitter brew. So, whether you’re grinding at home or having it ground for you at your local coffee shop or grocery store – you always want to choose a coarse grind. A coarse grind will lead to a smooth, full-bodied cup. Grind your own beans for the freshest flavor, and consider grinding in small batches for even, consistent texture for the most balanced brew.
Fresh is best. When possible, grind your beans as close to brew time as possible. Once your beans are ground, the flavors and aromatics begin to release in the air (we love the smell of fresh coffee). Freshly ground beans means more flavor in your cold brew. The longer the freshly ground beans sit waiting for you to brew, the more they lose flavor. And if you need to hold onto them a bit before brew time, store your ground coffee in an airtight container in a cool, dry place.
Flavor is personal, so try a few test batches at different grind levels. However, if you want to jump right in opt for coarsely ground coffee beans. Bonus - a coarse grind prevents lots of gritty sediment (that the fine mesh filter in our Cold Brew Coffee Maker would catch). Note that after you add your ground coffee to our coffee filter, lower it into the water, and seal the Cold Brew Coffee Maker airtight, we recommend that you shake the pitcher for at least 30 seconds to ensure that the grounds have come in contact with water. It is also recommended to occasionally shake the pitcher throughout brewing to ensure that all coffee grounds continue to stay in contact with water for ultimate flavor extraction.
For step by step directions on how to make to the most delicious cold brew, using our Cold Brew Coffee Maker, visit this page.

